Okay, now that we’ve gotten past the Installation Prerequisites and we’ve run the setup /PrepareSchema; /PrepareAD and /PrepareDomain scripts and verified that our AD forest is ready for installation, we’re ready for the next step: Installing Exchange 2013.
Installing the First Exchange 2013 Server (Mailbox)
Okay, so I’ve decided to demo installing Exchange 2013 via both the Setup Wizard as well as via PowerShell. For the first Exchange Server in my Organization, I will use install the Mailbox Server Role via the setup wizard. If you want to see how Exchange 2013 is installed via PowerShell, please scroll down to the next section.
1. On my designated ‘first’ Exchange 2013 server in the Forest, I have installed all of the prerequisites and also downloaded the Exchange 2013 binaries and expanded them to a local folder.
2. To install the first Exchange 2013 server, your account must either be a member of the Enterprise Admins group. For subsequent installations of Exchange 2013, you can use an account that is the member of the Exchange 2013 Organization Management role group.
*ExchangeSetupLogs
A quick word about the setup logs here before we begin our install process. These logs are invaluable in troubleshooting failed installations. It’s a great practice to take a look at the logs after performing an Exchange Server Installation in order to identify the status of your install. Simply perform a search for [WARNING] or [ERROR].
3. Run setup from a command line.
4. In the first screen, you are asked to check for updates.

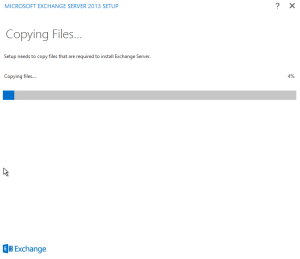
5. On the next page, the install daemon begins copying files and initializes setup
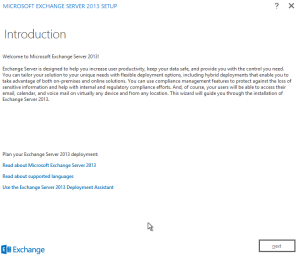
6. You will now see the Introduction page, where you can read Release notes and learn more about Exchange 2013. Click Next.
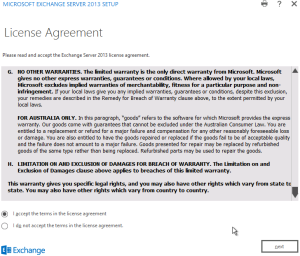
7. In the License Agreement page, don’t forget to read the EULA before clicking on the “I Acccept” button and then Next.
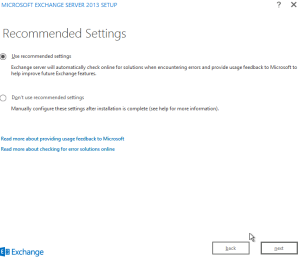
8. I chose to use the recommended settings for providing feedback to Microsoft.
9. Under Server Role Selection, I checked the “Mailbox Server” box and also left the “Automatically install Windows Server roles and features that are required to Install Exchange Server“. If you want to install a dual-role server, you can select both checkboxes under Exchange Server roles.

10. Under Installation Location, you get to select where your Exchange Server Binaries are installed. It’s a good idea to allocate Exchange Server to it’s own dedicated Volume (Not partition) to ensure that there is no hardware resource contention. In this case, I accepted the default location on my C drive.
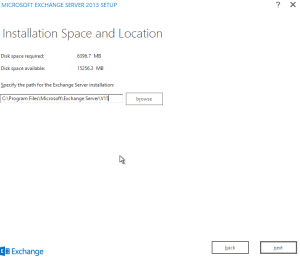
11. I chose to disable Anti-Malware settings as I have an external Cloud service to do the work for me. If you would like to find out more about Malware Control in Exchange 2013, click here.

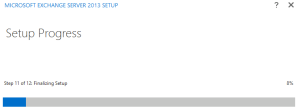
12. The installation wizard now begins some readiness checks and subsequently launches the installation process.

13. Once the installation process has completed, you will have to restart the server.
Installing the Exchange 2013 Client Access Server Role
For the next installation of a server role, I will be performing the installation via the setup unattended mode in PowerShell.
The code block for the setup file in Exchange has a considerable number of parameters. For our installation of our first CAS server role, we will use the following:
setup.exe /mode:install /roles:ClientAccess, ManagementTools /IAcceptExchangeServerLicenseTerms /InstallWindowsComponents /OrganizationName:SSCorp /TargetDir:”C:Program FilesMicrosoftExchange ServerV15″
More information on the Setup.exe parameters can be found here.
In this case, setup runs without prompting you for any further options. If there are any errors, Setup will fail and return an error message in the command prompt of PowerShell. You can also access the ExchangeSetup logfile in the C:ExchangeSetupLogs folder for more detailed debugging information.
Okay, so to recap for this post, we completed installing the Exchange 2013 Mailbox Server role via the Setup Wizard and also a CAS Server role via the unattended setup method.
We’re now ready to begin configuring Exchange 2013 to send and receive emails! For our next post, we will perform some post installation checks, followed by setting up Send and Receive Connectors, Default Email Policies as well as installing SSL certificates.
Don’t forget to leave a comment if you felt this was helpful. 🙂
Road Chimp, over and out.


Can I republish your post?
return man 2